
Legit one of the most underrated Firefox features that I use all the time: right-click -> Take Screenshot (or Ctrl+Shift+S). No need to look up the relevant node, just hover the relevant part with your cursor.
I mean if you are using windows couldn’t you just snipping tool with print screen?
That doesn’t align itself to the dimensions of an element. The screenshot thingy even allows you to screenshot past the visible area for scrollable pages
TIL, that’s awesome to know
And if you open Firefox’s responsive mode and give the webpage some considerable height, you can even take a full-page screenshot in one screenshot without having to stitch.
You don’t even need to open Responsive Design Mode - when you select Take Screenshot, there are two buttons “Save visible” and “Save full page” in the top right-hand corner.
The issue with full page screenshot is that it cannot properly detect elements that are of type “fixed” or “sticky”, so the output comes out as messy. If you have a fixed/sticky footer element, it will be somewhere in the middle or topmost part of the screenshot.
Ah yes, RDM is a clever workaround for that - I should remember that.
I miss the days when everything you saw on the internet was easily accessible in the temp folder, ready for you to rummage through.
Back when making a webpage was <TR>, <TD> and <TABLE>
Edit: HAAA, I can’t put html tags in text! Even with escape characters! Edit2: I DID IT! I had to use the HTML-entity-codes!

You could’ve also used the
<table> <tbody><tr> <td> code formatting option<\blink> <\td> <\tr> <\table>that is built into Markdown for, well, formatting code
Just put your text between these:
`````` </td></tr></tbody></table>
Look at your ‘source’ for this comment, did you notice that Lemmy seems to be adding closing tags to the end of it automatically? That makes me think there’s some formatting that could be broken out of, doesn’t seem to be handled all that well.
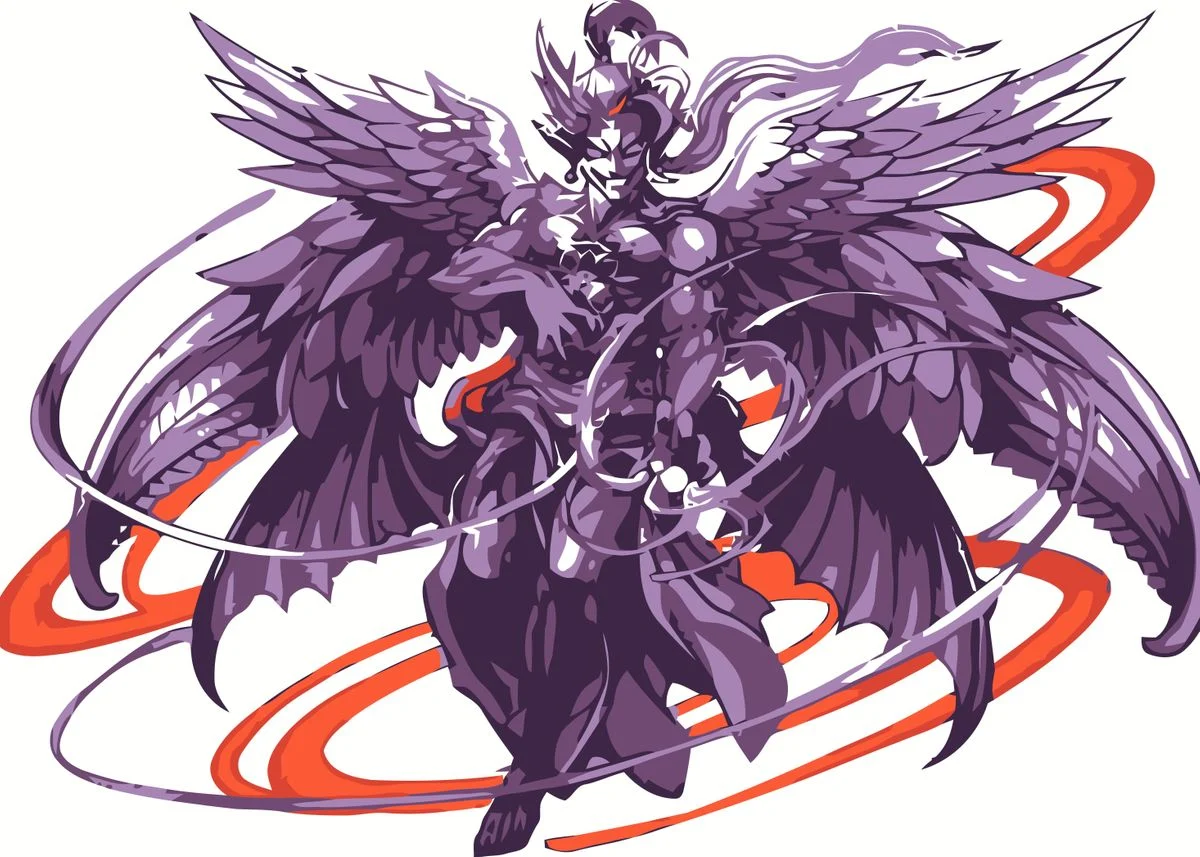
needs more jpeg
thanks, much better!
14kb


Is this higher quality than just screenshotting and dragging the box around it? Asking for a friend.
Yes. You can actually make it even more higher quality by tweaking the
canvasheight and width settings (from 500px to 1000px or higher, in the multiples of two) and the parentdivwidth (from 490px to 980px or higher in the multiples of two), but let’s just say that there’s some unintended side effects.
You can still work it out - just use
style="display: none;"as one of the attributes for the editor stuff, and proceed with taking a screenshot of the node. Obviously, the template image quality won’t improve, but the text and the custom image you’re going to be adding will be of higher quality.For comparison, left one is the node taken with a screenshot vs the generated image (you can see the tag below). Font for both images were set to 500px.
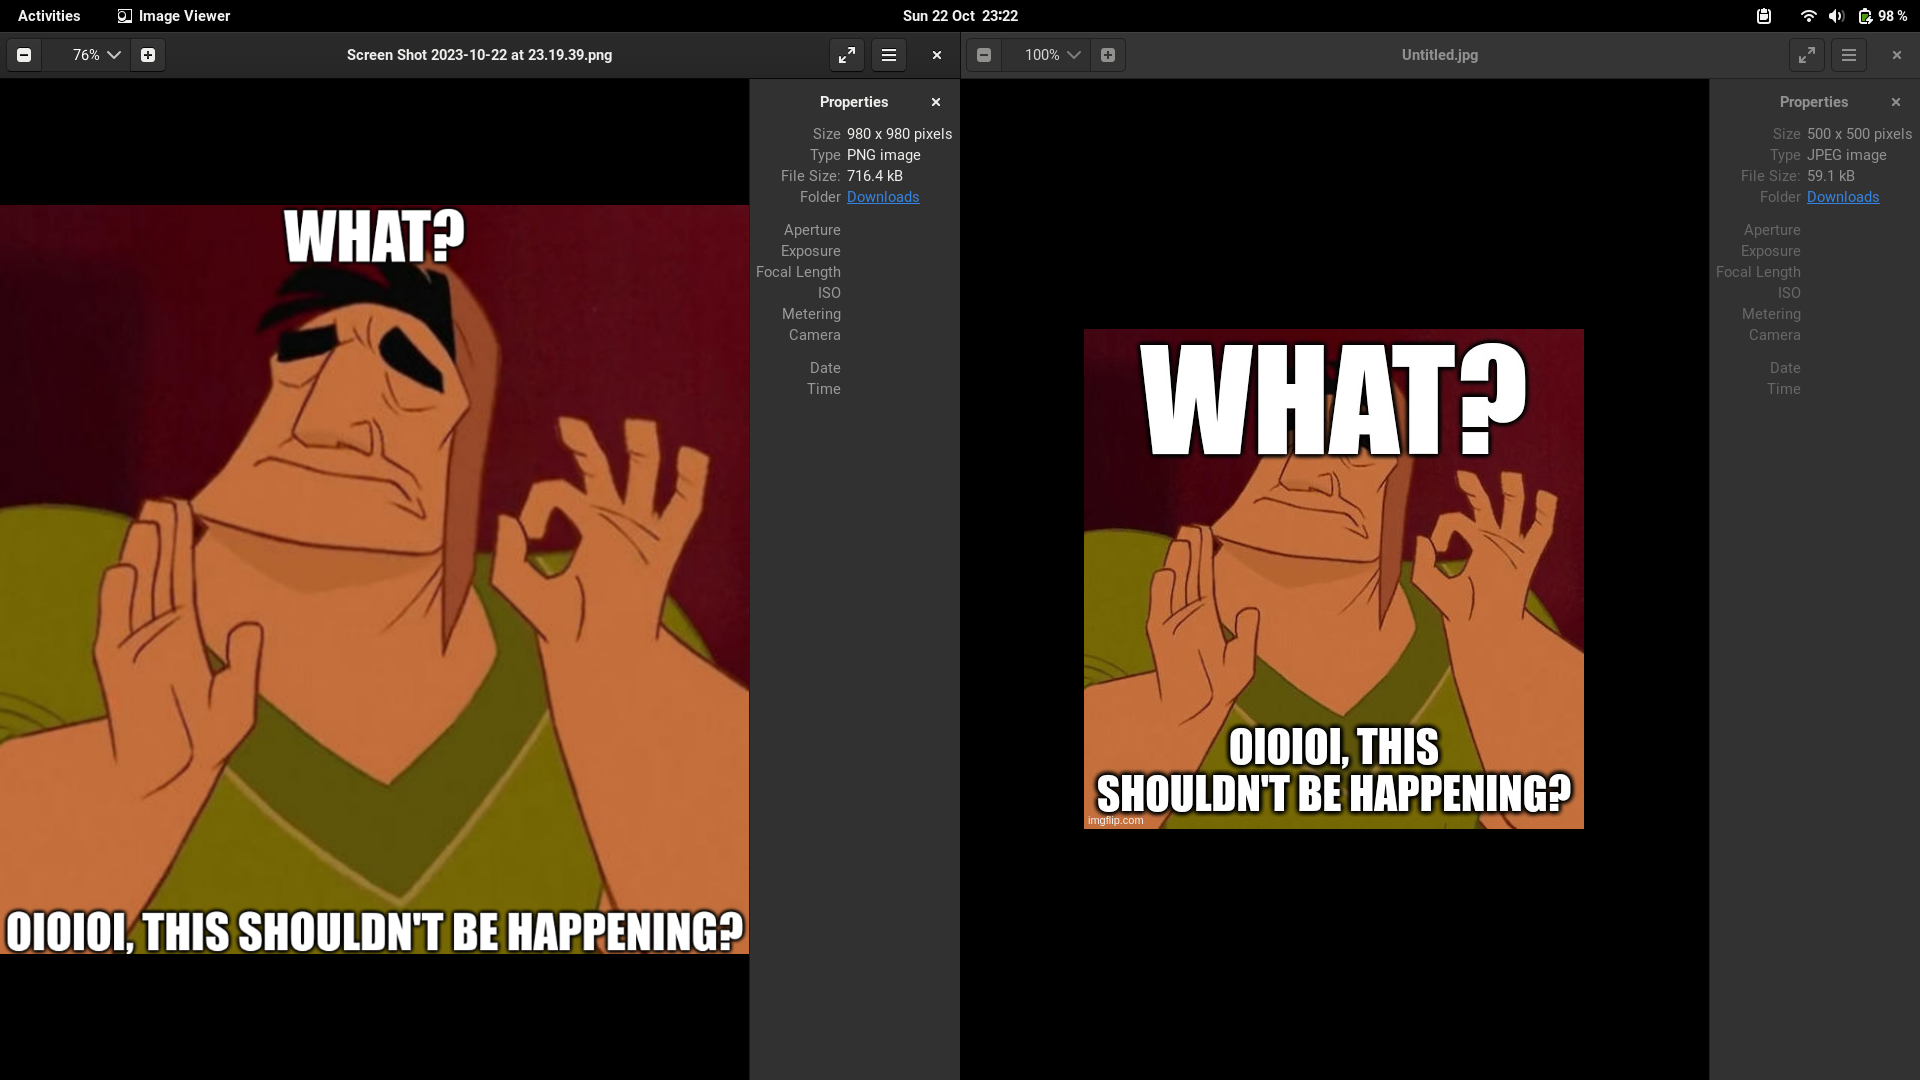
You should also make sure to not zoom in and out, or else the
divwidth will reset. You can easily fix that by reassigning the width value.Or just use Inkscape. It’s just that I’m too lazy to download meme fonts, so I use imgflip.
Lemmy markdown sanitizer is messed up, so I removed the angular brackets.
Depends how Firefox processes those screenshots, would be my guess.
It wouldn’t improve anything about the resolution or quality of the image you’d just get slightly more of the image. Seems like it would be useful in niche situations though.
Eh. I like imgflip a lot and their watermark is super unintrusive, so I leave it to support them. If it was a worse watermark I’d feel no qualms about going around it but it’s small enough that I feel happy including it.
click on “🕶 Add Image”
click on “Below”
select an arbitrary photo
create meme
click on “Generate Image”
the watermark is now on the arbitrary image that you added
crop out the added image and be left without a watermark
imgflip devs should’ve known better. Just adding a img element on another img element won’t do. You gotta generate them together and add only one img element where the watermark is edited into the image. Too lazy to generate the appropriate image (with or without watermark) depending on users subscription status on the server side ig.
What percentage of people do you think care enough to remove it through the source code?
Less than 10%
If you’re doing that why not just find the link to the file host and download the image directly?
It looks like the image is processed in the server-side. The page sends a POST request with a bunch of x and y parameters about text boxes and custom images.
DIDN’T FUCKING NOW THAT YTDYUTLDYTUDY6TUD6ULDE6UYD
Nah, the watermark makes the meme funnier


